How to record in the new HTML5 version
Greetings, fellow tankers! Have you ever had issues with figuring out how to record videos in HTML5? Fear not! Today, we will solve the issues with not knowing how to properly and most efficiently record in HTML5. Let's begin!
Step 1. Locate your Tanki Online HTML5 client by opening your File Explorer, searching for "TankiOnlineSetup" while in the Quick Access section, and right-clicking on "Open file location."

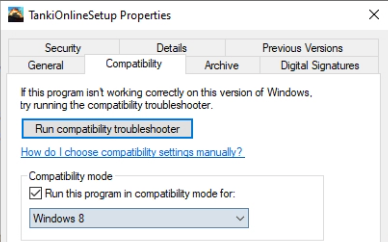
Step 2. After being redirected to the folder on your PC where the HTML5 client is located, right-click on the "TankiOnlineSetup" file, click on the "Properties" button, and head over to the "Compatibility" tab.

Step 3. Checkmark the "Run this program in compatibility mode for:" button, and a new option will become available to toggle. Click this dropdown menu and select "Windows 8."
Step 4. Click "Apply" and exit.
Step 5. Open OBS or Streamlabs OBS (either works fine).
For the sake of this guide, we will be using Streamlabs OBS.
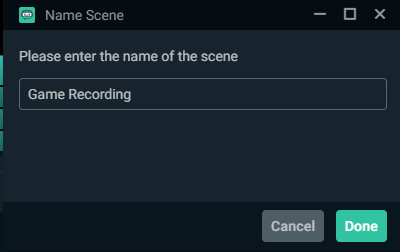
Step 6. Create a new scene, name it however you choose, and click "Done."
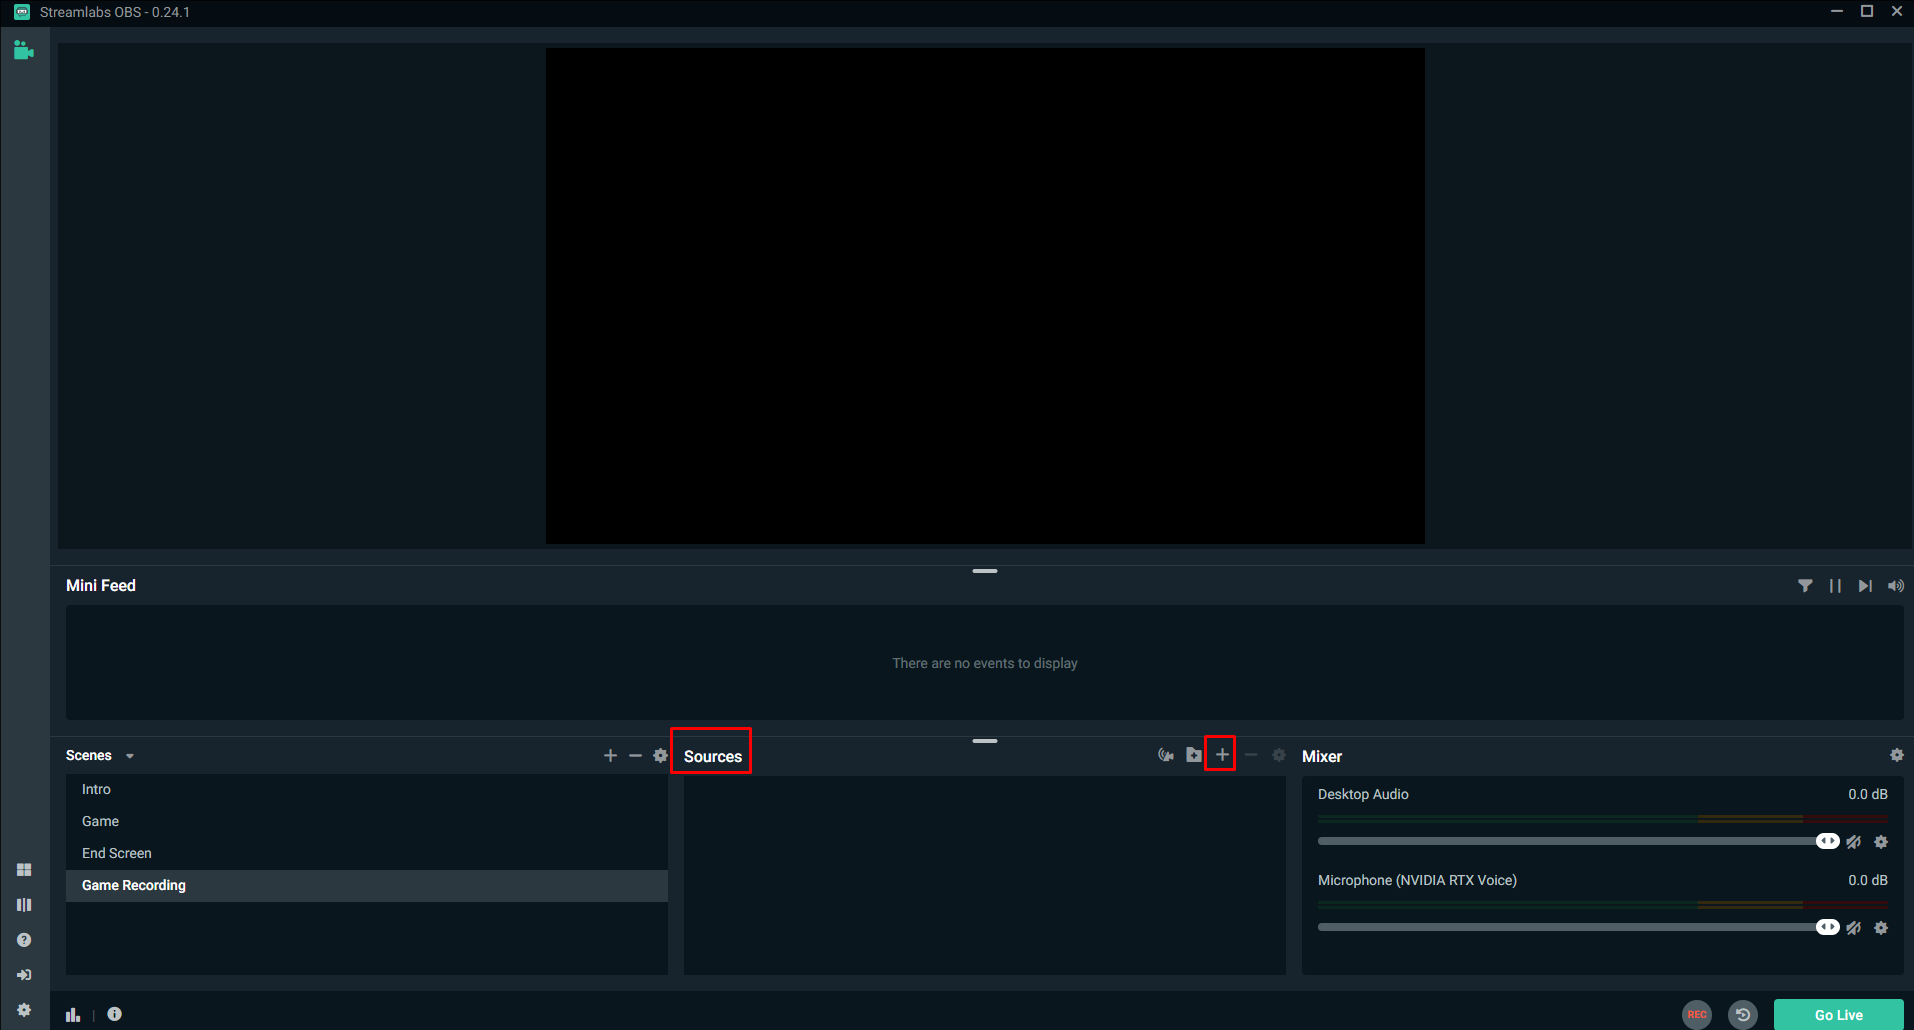
Step 7. With the correct scene chosen, head over to the "Sources" section, and create a new source by clicking the "+" symbol.
Step 8. Select "Window Capture."
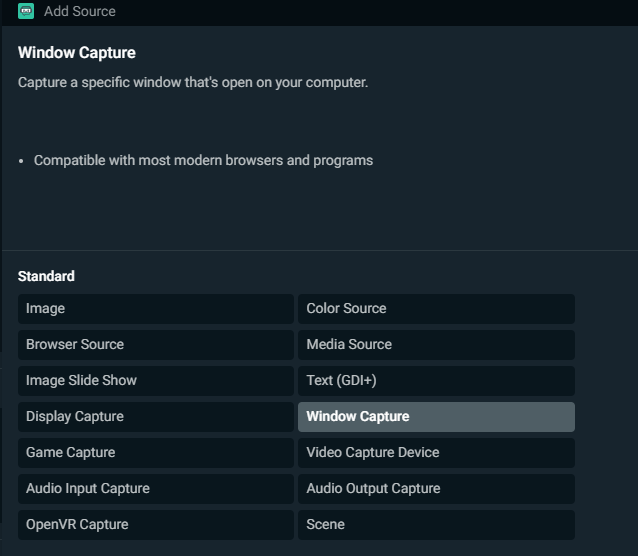
Step 9. If applicable, make sure that you have chosen "Add a new source instead" to create a new source instead of using a previously added source. Name the source whatever you want, and click "Add Source."

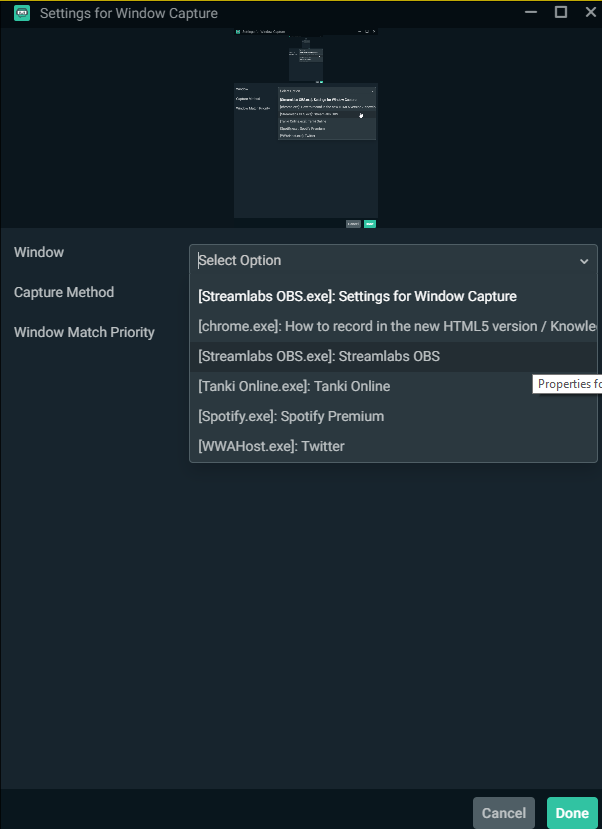
Step 10. Select "Window" so a drop-down menu will appear. Select Tanki Online (it should appear as "[Tanki Online.exe]: Tanki Online").
Set the Capture method to "Automatic."
Set the Window match priority to "Window title must match."
Click done after enabling all above settings.
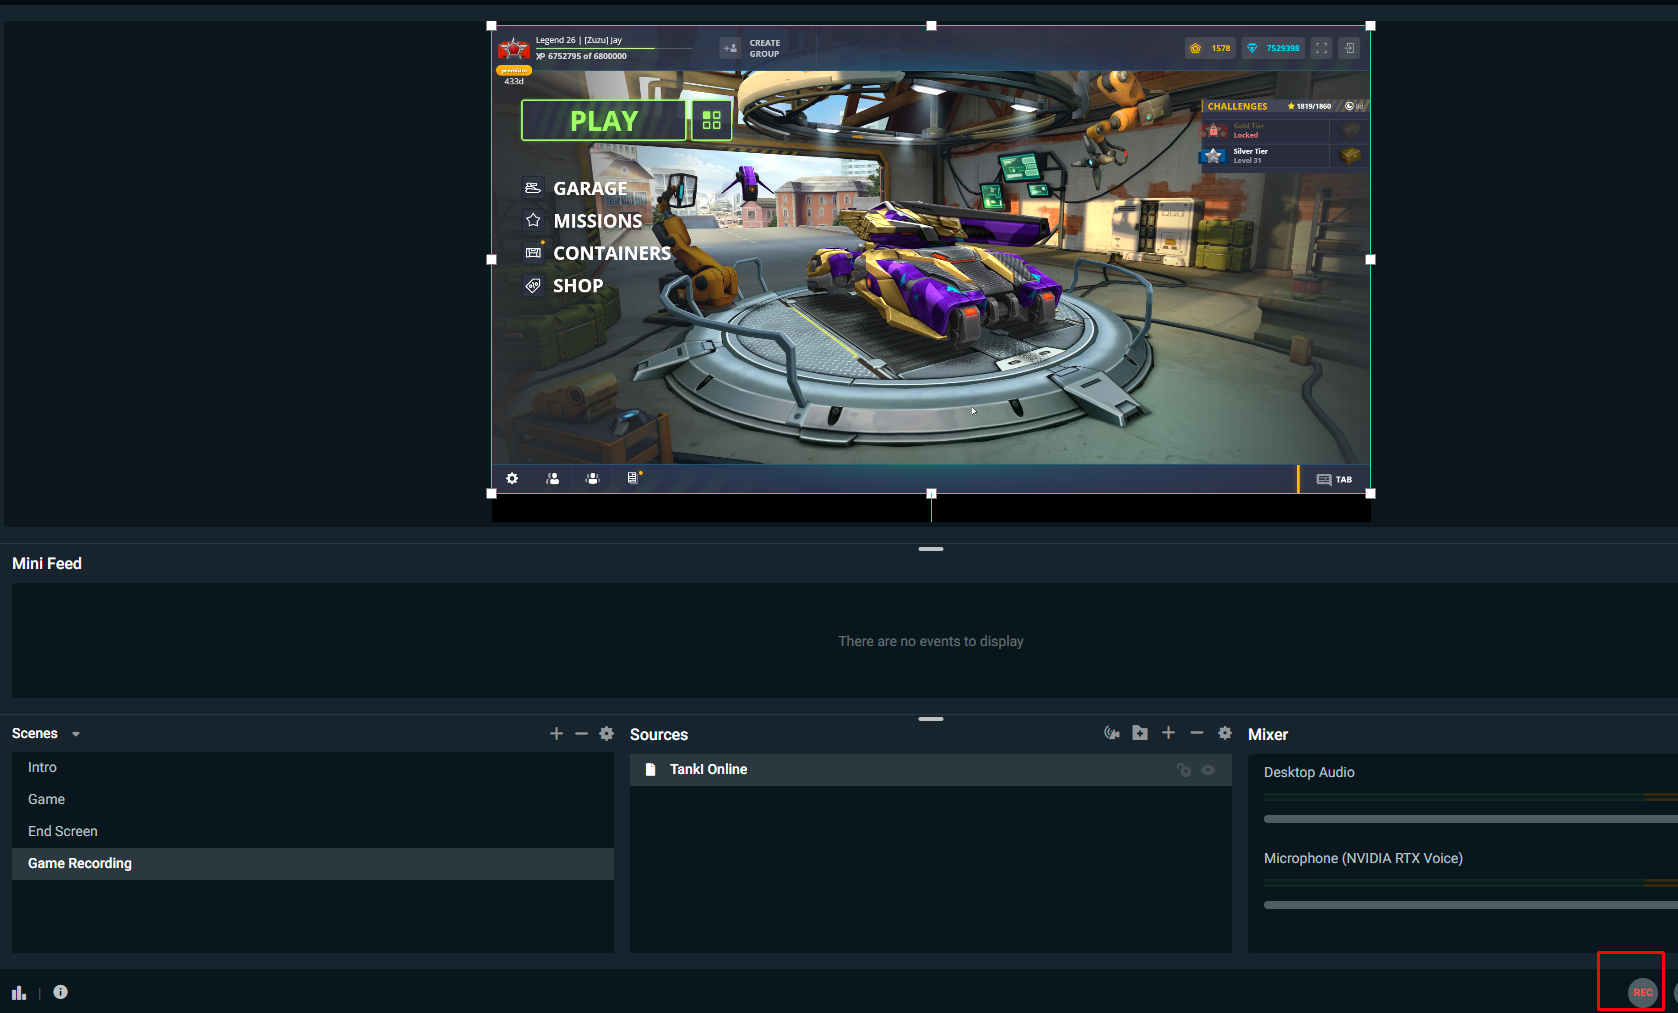
Step 11. You are all set up! Simply press the red "Rec" button in the lower right corner to record.
NOTE: These same steps work if you are using OBS Studio.
If you would choose to do so, you can also enable instant reply within your OBS software, which will allow you to record only after something notable happens that you would want to record, instead of constantly recording (constantly recording will use part of your RAM unnecessarily, and video files created using this method will be extremely large in most cases). To do so, you can follow this official OBS guide (the same steps work in Streamlabs OBS, if you chose to use that program). Hope this helps!
Customer support service by UserEcho